
Table of Contents
Create and Set up a new diary
An unlimited number of diaries can be used on each project. Especially on large construction projects, it can be useful to use separate diaries for each construction part (subproject). For project general information the main project diary is used in this case. Important subcontractors can run their own independent diaries. Some special construction works may demand separate diaries too. Buildary makes all these options easy to manage.
If you have a proven system how to divide your project into diaries, there is no reason to change it. Buildary will support the way of work you are used to.
Creating a new diary

You can access the diary list by selecting the Diary list. You can find it in the left panel
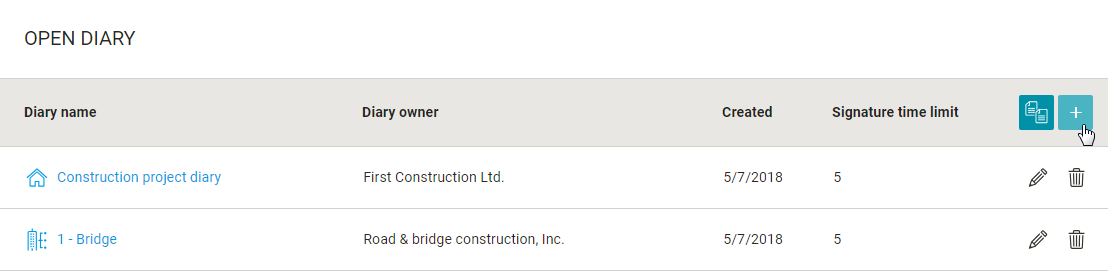
List of diaries contains a list of diaries of the current construction project. You can create a new diary with the button + New diary or you can open the existing diary by clicking on the line with the diary name.
If you need to create a diary as a copy of an existing diary, you can use the button New Diary copy. When creating a diary as a copy, all the settings are copied from a chosen existing diary. You can decide to copy a list of authorized persons too. You can save a lot of configuration work this way.
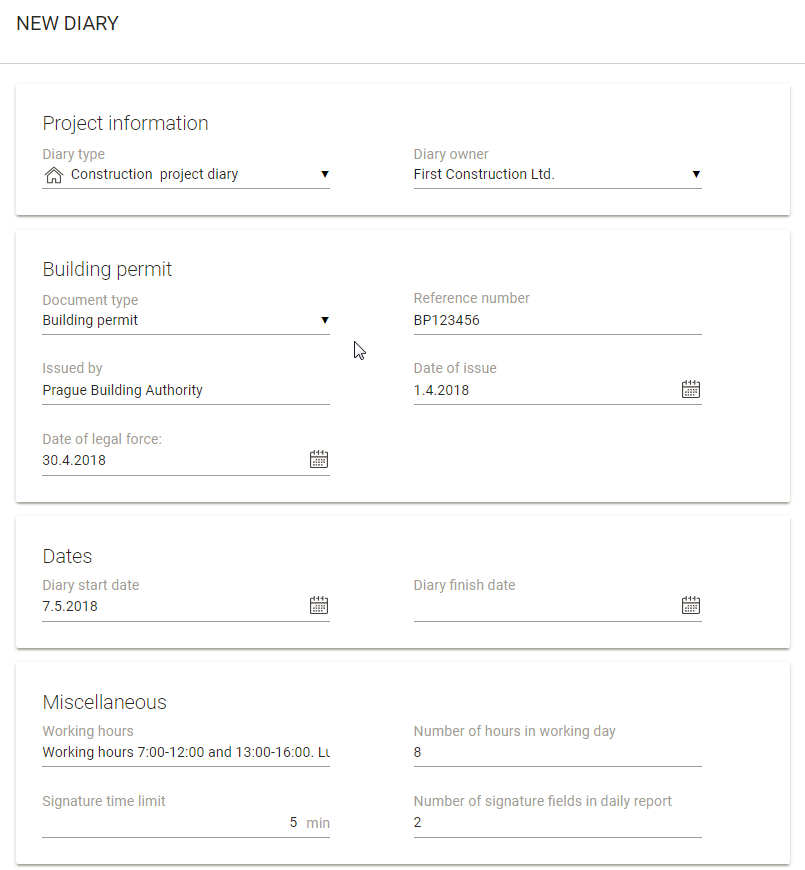
In the New Diary window, you can fill in the diary information.
Diary Type - You can select the diary type from the list that suits you the best. Diary type affects sorting in the list of project diaries. There are no functional differences between the types.
Diary owner - You can select a company that is responsible for the diary. It may be a contractor or a subcontractor.
Parent diary - It allows you to create a hierarchical link between 2 diaries, which then allows you to copy the data.
Building permit you can choose information about the type of document under which is the construction project carried out.
Diary start date Fill in the starting date of the diary. Daily entries are checked against this date. Daily entries can not precede this date. When locked, the report of this day must be locked as a first report in the diary.
Diary finish date Fill in this day only when you want to close the diary. You can not write daily entries after this date.
Editing information and logo in the diary
There are different methods to reach the diary settings:
- Diary List - you can find it in the left panel where you click on the edit pencil. Tab Diary settings.
- Daily Entries - there is a button at the top right Diary settings
- Diary identification - and then by selecting the Diary settings tab

Diary settings
General - The window contains data entered and explained in the diary creating help part. At the bottom part of the window, you can change the order of the diary sections using the arrows icons. The order changes for both the screen and the daily report in a PDF file.

Weather - In this tab, you set the hours you want to record the weather data. The default values are 6,12,18. You can add more hours choose from the list or remove the hours by pressing the x button. The daily report will generate a data row for each hour. Section content settings offers the maximum list of fields you can fill in in the Weather section. By default, they are all set to Standard field , so all fields will be visible in the diary. If you want to reduce the number of data, select Hide. To ensure that the field is always filled in, set it to Mandatory.

Labour, Plants, Materials - All other tabs have the same behaviour. They always contain a full list of section fields. By default, all fields are set to Standard field , so all fields will be offered. If you want to reduce the number of data to enter, select Hide. To ensure that the field is always filled in, set it to Mandatory.
Logos and images
You can choose from the three default options, or you can upload your own image. There are recommended dimensions stated, but the image will be adjusted if it doesn't meet exactly the size. Left and Right Logo can be set for the diary. For newly created diaries, the left logo is taken from the domain settings, and the right logo is filled by Buildary.online default. An example can be seen in the picture. We recommend using white-coloured logos with a transparent background (eg. in png format).
![]()