
Table of Contents
Project and Project team set up
You must have appropriate permission assigned in the domain to create and configure your project. If you work in your private domain, you own these permissions as default. If you work in a company domain, you need Create new project permission to create one and/or Administrate project permission to edit data in Companies, Members, Company roles and Member roles tabs. For more information, see part User permission
Project set up
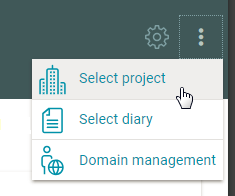
You can create a new building with the icon on the left under the building name .
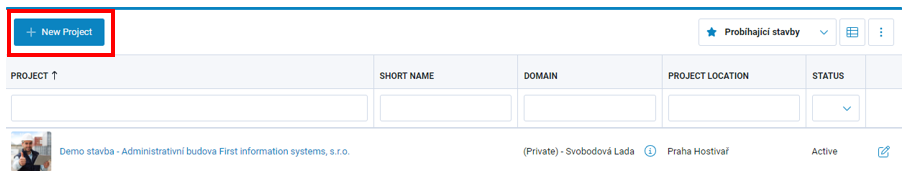
You can create a new project by using button + New Project.
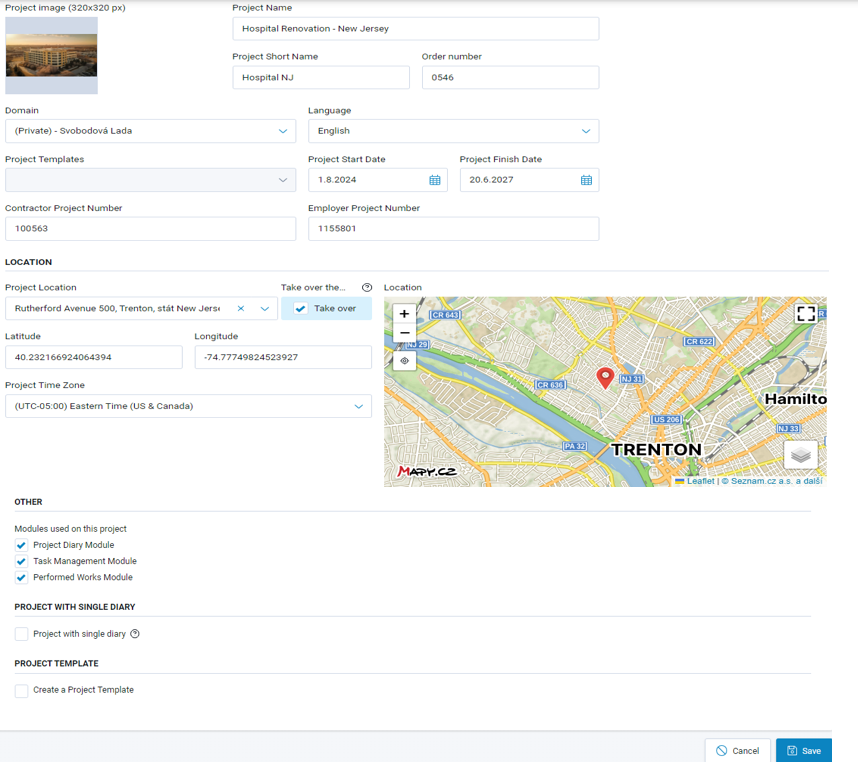
Project image - insert an image that will help you distinguish the building in the list of buildings. Dimensions of 320×320 pixels are recommended, the image will be partially adapted even if it has other dimensions.
Project name - enter full project name.
Project short name - this short project name is used when the full project name is too long.
Domain - you need to choose a domain to which the new project will be added. You can see only the domains in which you have a “Create new project” permission. If you don't see the domain you need, contact your domain administrator to create a new project for you or to grant you the necessary permission.
Project commencement and completion date - project contract dates.
Project location - text description or by clicking on the map to determine the location
Other – Choose the modules you will use
Project with single diary – Default this option is checked and it means that the log will be created automatically. If you are planning a building site with multiple diaries (subcontract, construction, or other), uncheck this option.
Project template - Only the administrator has the option. It allows him to mark the building he is establishing as a model. Then configure it as you needed.
When you open the map, the application will try to find your current location, and you may be asked to enable the access to your location information. Clicking on the map places the cursor on the position of the project. Press the OK button to confirm the position and transfer the coordinates to the application.
Construction Configuration
After establishing the construction site, it is necessary to create a construction project team.
Project Team Member
The Members tab contains a list of people who form the project team of the construction project. Every person should be assigned to a particular company.
You can insert new members using the button + New.
The meaning of the data fields is obvious from their names.
If a user already has a Buildary account, the telephone number will be taken from the information provided in the user account. Please be sure that the user E-mail on the account and on the team member list do match.
After inserting a new member of the project team, an invitation is sent to his/her E-mail address. From now on, the user has access to the project.

Companies
The tab Companies contains all the companies participating in the construction. The first entry in the company list is always automatically the company from the domain. You can add more companies by clicking the + New button
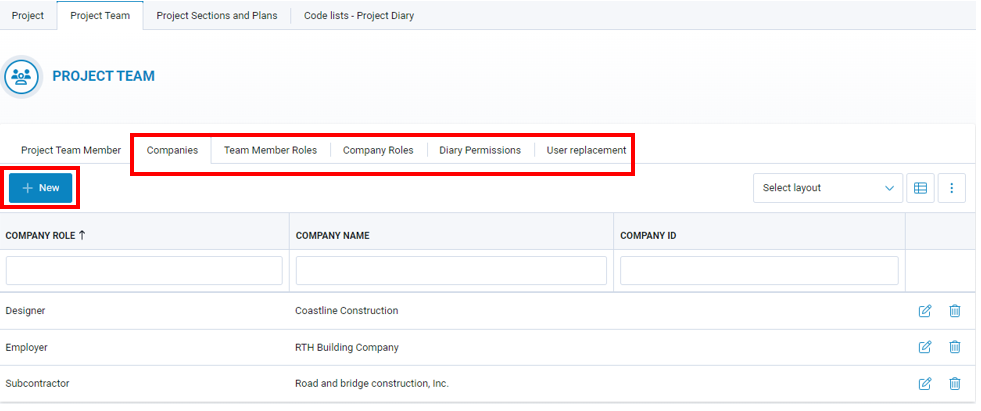

Company role - Select a role from a present list. Additional roles can be added on the Compan Role tab.
Company ID - The national identification number of the registered company
Companies are listed in order as they are inserted, so we recommend starting with the main participants - the employer/owner, the contractor, the designer and then the subcontractors and other companies.
You can expand the company information so that it's members can be seen. You can assign members to the company immediately when you create new project team members. Or you can do it any time later.
Team Member Roles
This window contains a list of roles for individuals on the construction site. Each role also defines their permissions.
You can create your own roles or edit the default roles. Renaming default roles is recommended only if it is a formal name change that does not alter the meaning of the role.

If you rename the default roles on the list, try not to change the meaning of the role. We recommend creating new role than renaming the existing one.
Company Roles
In this list, the most common roles of companies on the construction site are predefined. You can add your own roles, specific to your project. Company role can also be renamed.
Project Sections and Plans
In this part, you have the option to define the hierarchical structure of the building. The + button adds another subordinate level below the currently selected part. At the first level, we recommend leaving the structure divided into building objects. Building objects can (or do not) be divided into more detailed parts. Appropriate division of the construction will increase localization of tasks. Each part has an icon on the right with the number of drawings that part contains.

Code lists - Project Diary
Other entry categories
The code list is used to sort records in the Other entries section. Administrator has the option to edit the dial according to the needs of the given building. If the building was created using the Project Template, then the dial is taken from the model.

Labor on site, Plants and Materials
If you fill in these codes, the contents of the code will be shown when recording in that section. The list can be created either by inserting individual items via the button +
